Dumpster Diving Magnifying Lamp
The place I work was having a spring clean, and I noticed they had a broken magnifying lamp in the bin with the lamp part snapped off the arm. The light is a Farnell D00389 unit from around 2011. It seems to have sold for £60, as light and magnification doesn’t go out of date, I think was worth the rescue.

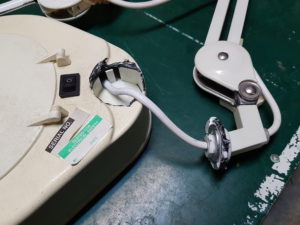
I hate to see stuff going in the bin that’s a simple fix. Nothing a little epoxy could not fix. When plugged in, the lamp works fine.

As you can see in the above images, someone has already tried to fix it poorly using some black glue. The glue has changed the shape of the hole so the 2 parts do not fit well together, so it was time to strip it down and has a go at getting it working again.


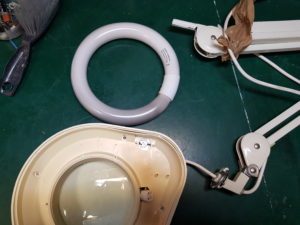
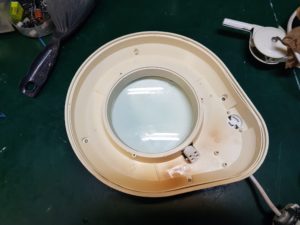

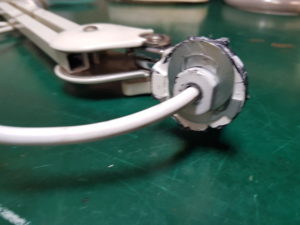

First i removed the clean cover for the light which just pops out. Next I removed the light and the starter. The light is held in place by 3 curved bits of metal screwed into the case.
Removing the light revealed a melted brown mark showing how hot the light must be running. With the light and starter removed, it was another 3 screws to sepparate the two halves.
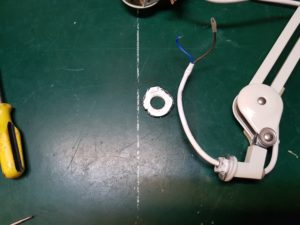
Next was to remove the bit of plastic from the arm side of the light. First I had to remove the power wires from the top of the lamp. This then sepperated the arm of the lamp from the top, letting me work on the broken bit of plastic. Using a flat head screw driver, I pryed the C shaped clip up and off freeing up the small bit of plastic that i had to glue back into place.


Next job was to file/cut away the black glue to allow me to fit the 2 parts back together. This was probably the longest part, as I wanted the 2 parts to fit together properly. After about 40 mins the 2 parts fitted together, so i mixed up some good old JB weld and slapped it on both sides of the plastic. I will be the first to admit that it’s not going to win any beauty awards but I would much rather have something that works than is all pretty and works like crap.
After the glue had dried (I left it for 48hrs), the final job was to put it back together. This is where I ran into my only problem. I did not take into account the C shaped metal clip when I slapped the glue inside the case, so when I went to fit the clip it got stuck on the dried glue. It was easy to fix; I just cut away some of the glue with a razor blade, and the clip slipped back into place… with a little Persuading.


And there you go. Job done! The lamp works fine, and the 5x lens will be of help to me. In the future, I will get some salon cream and bleach to whiten the plastic as it is quite yellowed, and maybe upgrade it to an LED ring, but for now I am happy with how it looks.